Skip to main content
Search
Search This Blog
G Bakes!
Get A Rise Out of Baking
Pages
Home
ABOUT
RECIPES
VIDEOS
BOOKS
PRESS
TV APPEARANCES
More…
Posts
Featured Post
August 02, 2017
Butter in the Blood
Latest Posts
April 04, 2018
Season 2 of Baked in Vermont is coming!
November 07, 2017
INTRODUCING: BAKED IN VERMONT! Our new Food Network baking show.
June 29, 2017
4th of July Pie Recipe, a FREE Craftsy class and a fun Today Show segment
March 22, 2017
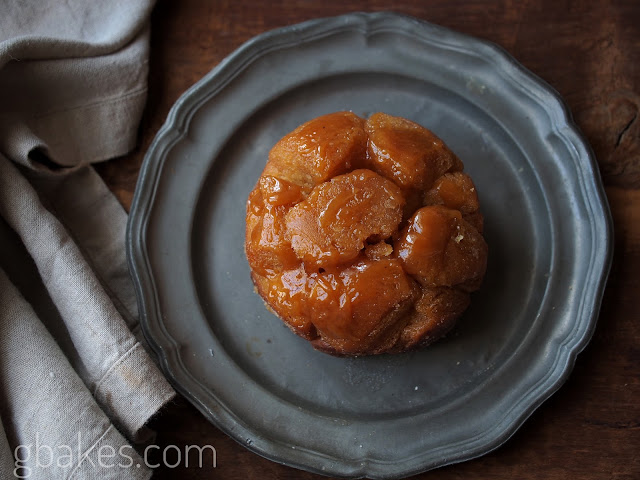
Individual Maple-Brown Butter Monkey Breads
March 13, 2017
Sugar Glider Kitchen: The Place to Learn to Bake
February 18, 2017
Vegan Desserts on Wendy Williams!
February 13, 2017
Sweet Valentine's Day Treats from the Today Show
January 27, 2017
SUGAR GLIDER KITCHEN: the place to learn to bake
December 11, 2016
December's here!
November 22, 2016
Happy Thanksgiving!
Older Posts