BROWN BUTTER-BROWN SUGAR COOKIES
I like sugar cookies well enough. What I don't like is a sugar cookie that's gloriously embellished, the kind that draws exclamations like, "That's just too pretty to eat!" but has all the flavor of sweetened drywall.

So let's add some flavor to the party, shall we? How about browning that butter so our cookie has a nutty, deep caramel flavor? And let's switch up that sugar to dark brown and bring a little butterscotch yumminess to our cookie soiree. Up the vanilla and the salt a bit and we've got a decorated cookie worth eating by the dozen.


(Makes approximately 30 cookies)

1 cup unsalted butter, room temperature plus 2 tablespoons
1 cup dark brown sugar, packed
1 large egg
1 large egg yolk
1/4 cup sweetened condensed milk
1 tablespoon vanilla bean paste or extract
3 cups all purpose flour
1 teaspoon salt
In a large saucepan, melt the one cup butter over low heat. Continue cooking the butter until it simmers, starts to brown and gives off a nutty aroma. Carefully pour the melted butter into a small container, leaving as much of the brown bits on the bottom of the pan behind. Immediately add the reserve 2 tablespoons of butter and allow to melt into the body of the brown butter. Stir and refrigerate to solidify, about an hour.
Combine the solidified brown butter and the brown sugar in the bowl of a stand mixer fitted with the paddle attachment. Mix on high until light and fluffy. Add the egg and egg yolk, mix to combine.
Scrape down the bottom and sides of the bowl. Add the sweetened condensed milk and vanilla. Mix to combine. Add the flour and salt all at once and mix until just combined.
 |
| Finished dough. |
Transfer the dough to sheet of plastic wrap and press into a disk. Cover completely and refrigerate for 20 minutes.
Line a few sheet pans with parchment. Preheat oven to 350ºF.
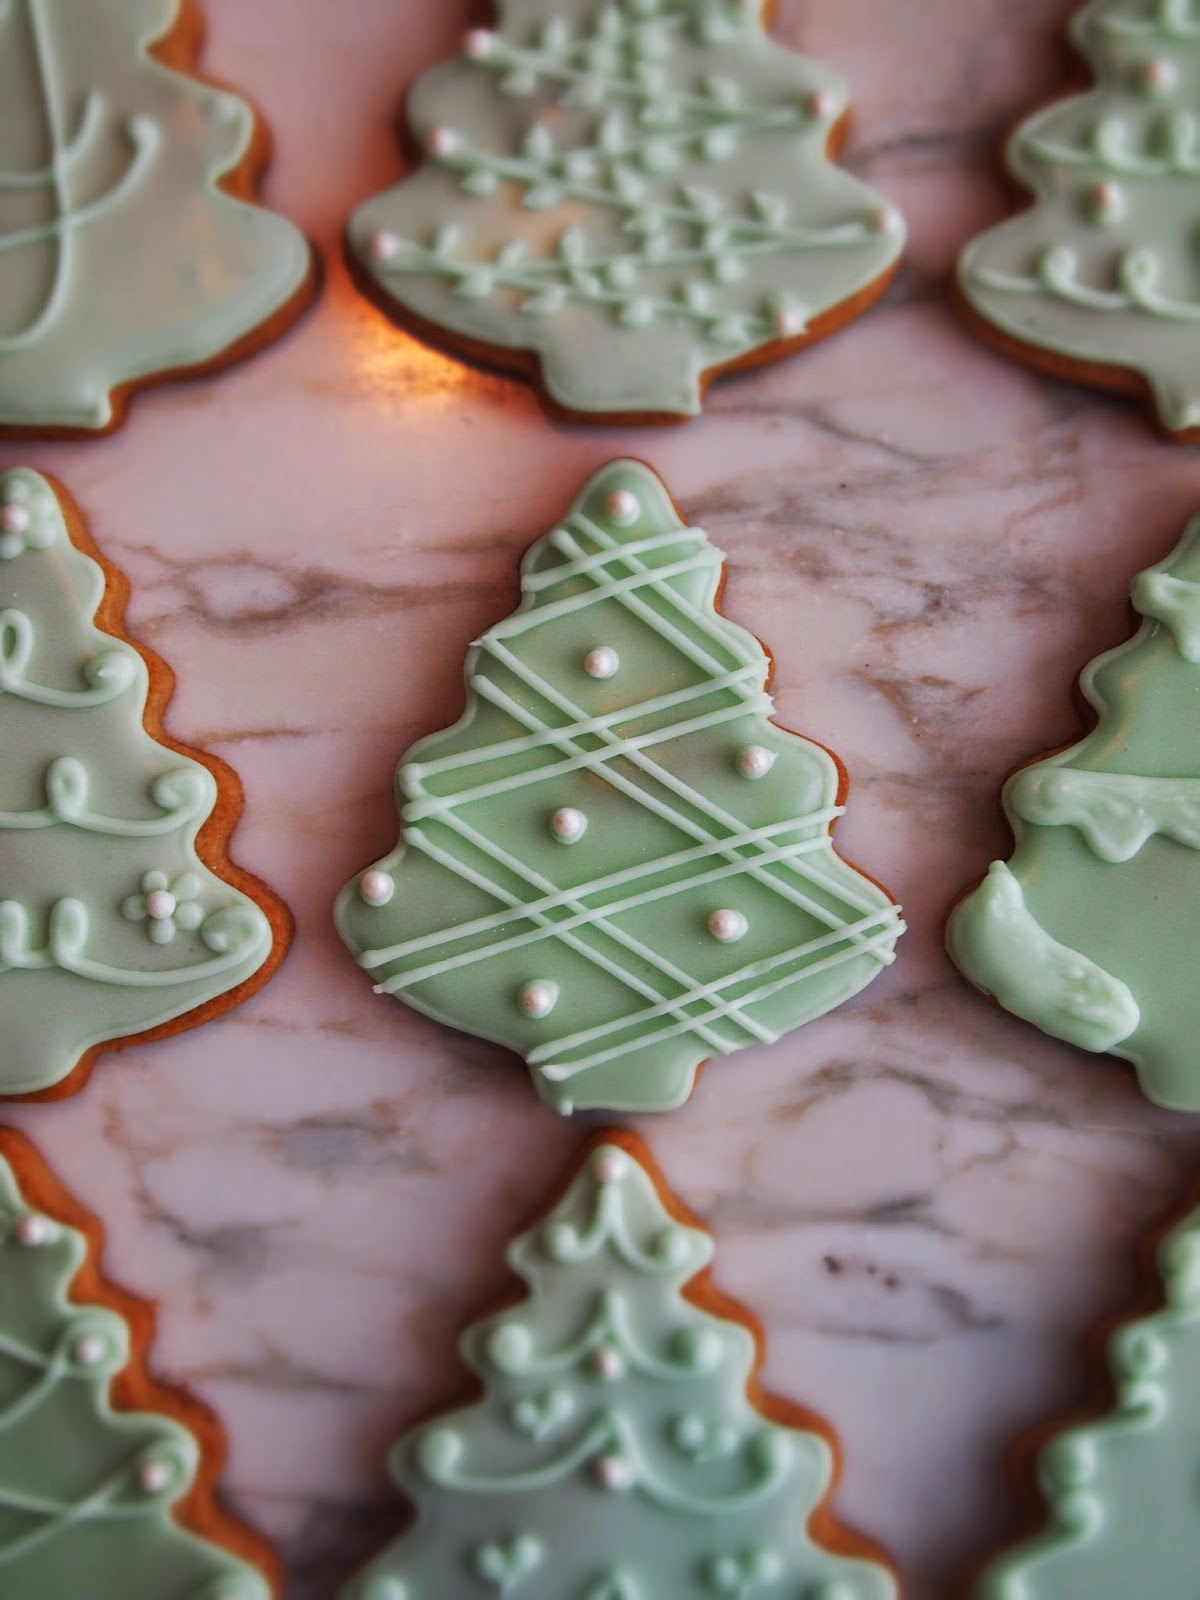
Lightly flour your work surface and roll the dough to between 1/8" and 1/4" thick. Stamp out shapes, I obviously chose a tree, and place on a parchment lined sheet pan about an inch apart.
Bake for 10 minutes, turn the sheet pan 180º and bake for 5 - 10 minutes more or until the edges of the cookies start to brown. I'm not a fan of "blonding" pastry, that habit of some to not letting the dough properly bake and caramelize, a process that gives pastry the best flavor. In the case of sugar cookies of any sort, this practice of blonding is common in order to keep the cookie pristine and evenly colored for presentation. To that I say, PHOOEY! The main function of any cookie, no matter how beautifully it's decorated, is to eat the damn thing. Ergo, use the best cookie recipe and bake it properly. Everyone will be that much happier.
Allow the cookies to cool completely.
ROYAL ICING
(Makes approximately 1/2 cup)
2 cups confectioner's sugar
1 1/2 teaspoons powdered egg whites
gel food coloring
For piping

Whisk together the confectioner's sugar and egg white powder. Add water and just a touch of dye, add water 1teaspoon at a time until you create an icing with an almost paste like consistency that, when piped from a small open tip, keeps its shape. Stir well so that there are no lumps but don't stir so much that you aerate the icing.
Fill a pastry bag with a small open tip with the royal icing. Use a piece of baker's twine to tightly close the bag up top to keep the icing form crusting inside the bag.
(TIP! Place a damp paper towel at the bottom of a tall glass. Whenever you take a break from piping, place the bag and tip in the glass, tip touching the paper towel, to keep the tip from crusting over)
Outline each cookie and allow the royal icing to crust over, about 1/2 hour.
This is also the consistency of icing you'll use for piping decorations on top of the cookie. You can keep the icing in the bag overnight in a cool in your moist paper towel filled glass to use the next day while your cookie icing sets.
For flooding

Same as for piping but add enough water that the icing spreads. You don't want it to be watery, about the consistency of ketchup. When flooding, have a toothpick handy to push the icing into corners. You can use a pastry bag with a slightly larger open tip than for piping. However, I prefer to use plastic squeeze bottles (think a ketchup bottle in a diner, just smaller). They are easier to handle when icing flows easily. Allow the flooded cookies to set. This can take much longer than you'd like, usually a few hours. If your flooding icing is too thin, it can take a VERY long for the moisture to evaporate (think days). If you add too much dye there's a chance that the icing will never set and will have an almost marshmallow fluff consistency. This happens most often with high pigment dye like red and royal blue. The key is to be patient in finding the right consistency and in waiting for the icing to set.


